Sidewalk Safety Inspection Checklist Property Manager Guide
Updated: 1 day ago
A sidewalk problem rarely announces itself at a convenient time. A slightly raised panel, spreading crack, or area of ponding can become a daily maintenance issue before it appears urgent, especially across a multi-property portfolio. A repeatable inspection routine gives property managers a practical way to find changes early, document them clearly, and plan repairs around tenant schedules and available budgets.
Schedule a sidewalk safety assessment to turn today's inspection findings into a prioritized, budget-friendly repair plan.
This sidewalk safety inspection checklist property manager guide walks through what to cover on each walk-through: walking surfaces, panel displacement, cracks, spalling, drainage, slopes, transitions, lighting, and obstructions. Record the location, condition, photos, priority, and follow-up action during each inspection, then schedule professional review when a hazard exceeds your team's ability to assess or correct it.
This preventive approach is different from a one-time audit. It supports phased maintenance and creates a consistent record for every property. It also helps clarify when trip hazard removal for property managers is the appropriate next step. Start by defining why this checklist belongs in your regular property-care process.
Why Property Managers Need a Sidewalk Safety Inspection Checklist
For a property manager, sidewalk safety is an ongoing maintenance responsibility, not a once-a-year project. A consistent inspection checklist helps your team identify small changes before they become urgent repairs, tenant complaints, or disruptions across the property. It also creates a repeatable record for comparing conditions over time and planning work around occupancy, budgets, and other site priorities.
Preventive inspections support safer, better-maintained properties
Public property-maintenance guidance reflects the basic standard property managers should work toward: sidewalks, walkways. And driveways should be inspected regularly, kept in good repair, and maintained free of trip hazards. The Rehoboth Beach rental property checklist includes that expectation for property inspections.
A practical checklist gives staff a clear way to look for raised or displaced concrete, cracks, surface deterioration, drainage problems, and changes at transitions. It also helps prevent inconsistent reporting, where one team member records a concern but another cannot determine its exact location or severity. Photos, measurements, and a simple site map make follow-up more useful than a vague note that only says uneven sidewalk.
Turn inspection findings into an asset-management plan
The goal is not to react to every observation with an emergency repair. It is to understand the condition of the walkway network, prioritize hazards, and phase corrective work with minimal disruption to residents, tenants, visitors, and staff. That is where Precision Concrete Cutting serves as an asset-management partner rather than simply a contractor. PCC can assess conditions, remove eligible trip hazards through its patented cutting process, verify the result, and provide documentation that supports future planning.
For properties with recurring walkway concerns or multiple locations, a structured program for trip hazard removal for property managers can connect inspection findings to practical repair decisions. The result is a clearer maintenance workflow: inspect, document, prioritize, correct, and verify.
What Should Your Sidewalk Safety Inspection Checklist Include for Property Managers?
A useful inspection goes beyond spotting an obvious crack. Walk every route that residents, tenants, visitors, and service teams use, and record the location, condition, dimensions, and urgency of each finding. Consistent notes and photos help property managers schedule focused work, explain priorities, and avoid unnecessary disruption.
Check for Changes in Elevation and Surface Condition
Start with vertical displacement between adjacent concrete panels. A raised or settled edge can create a trip hazard, especially where foot traffic turns or approaches a doorway. Measure the difference rather than relying only on visual judgment. A vertical displacement of 1/4 inch or more should be flagged for review against applicable accessibility requirements.
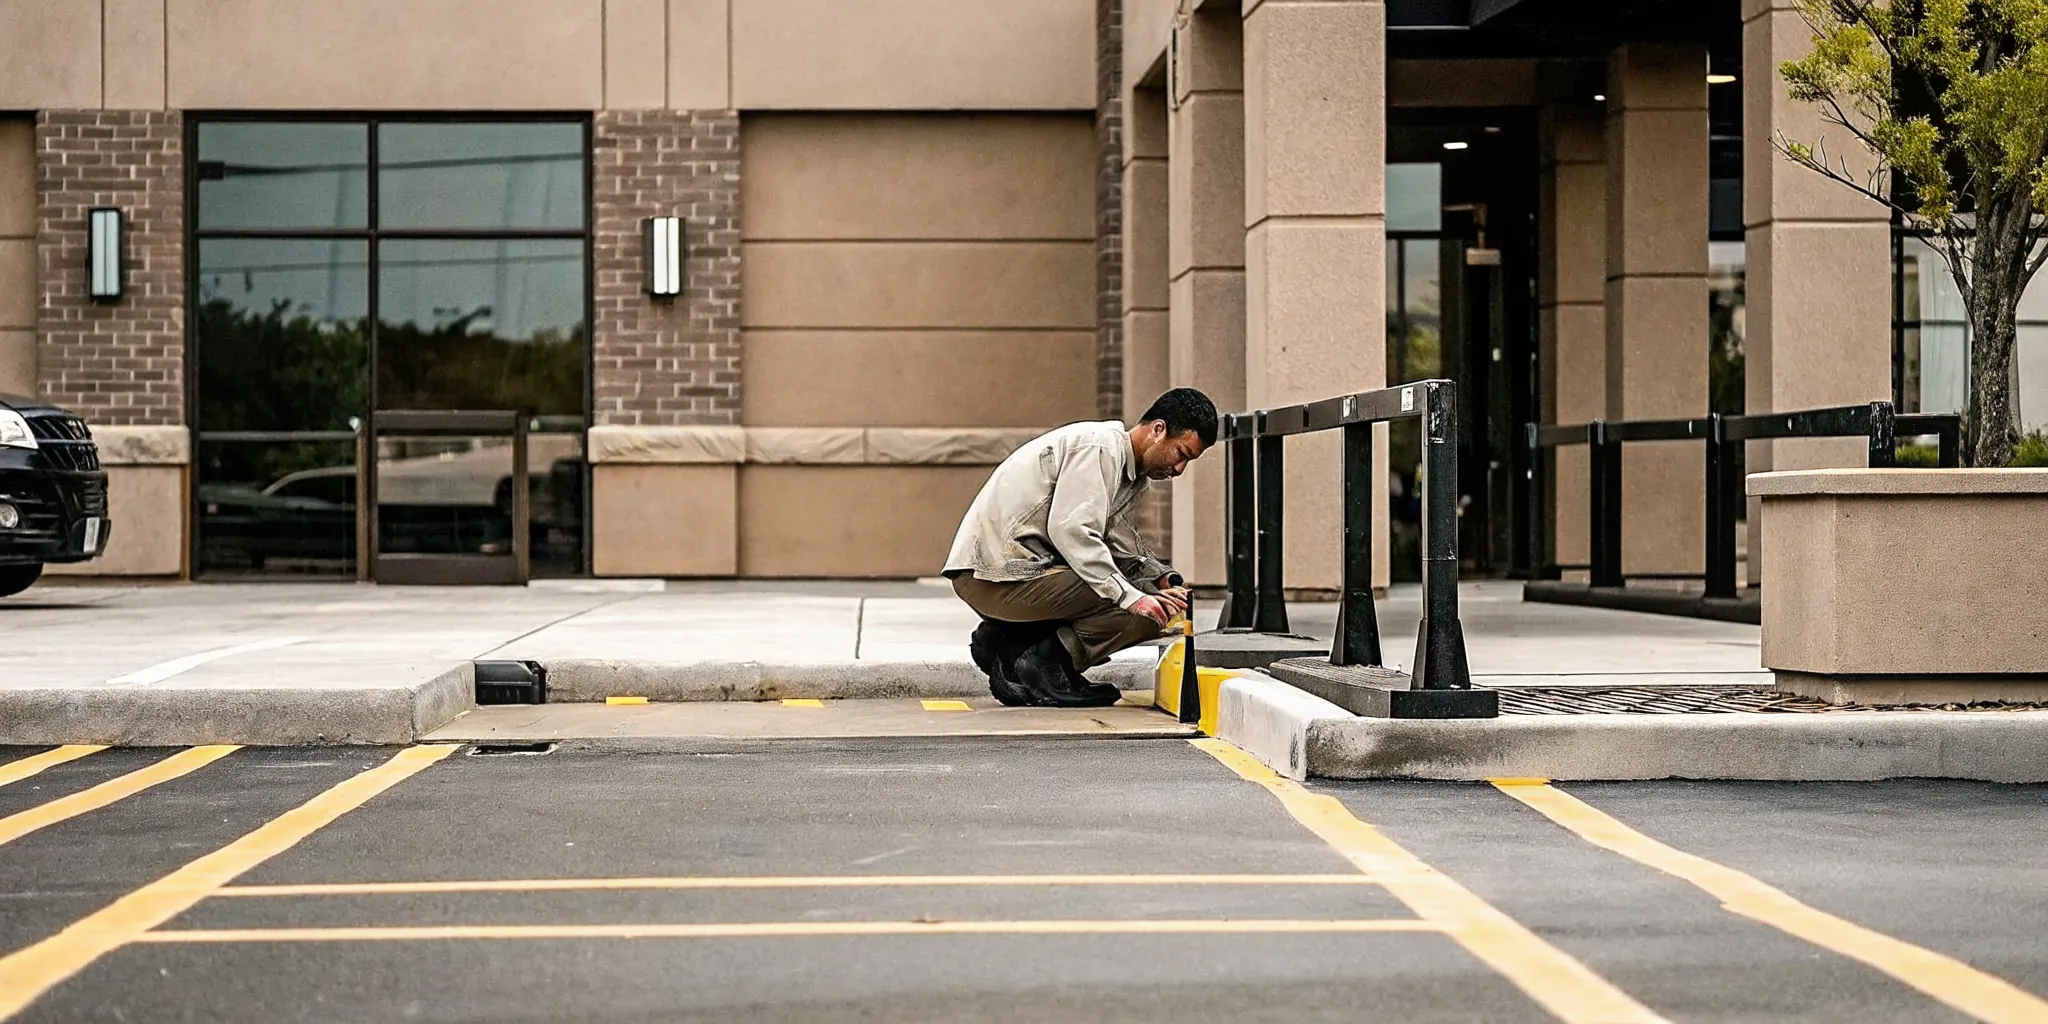
Then inspect the panel itself for longitudinal and transverse cracks, widening joints, loose material, and spalling. Small defects may worsen with water, temperature changes, and repeated traffic. Note whether damage is isolated or appears across a larger section. That distinction can support a phased repair plan instead of an unnecessarily broad replacement project.
Review Panel Transitions and Accessible Routes
Pay close attention to transitions at adjacent panels, curb ramps, driveways, crosswalk approaches, entrances, and changes in paving material. Even when each panel looks acceptable on its own, a lip at the transition can interrupt an accessible route. Use a level or digital measuring tool to verify slopes along the direction of travel and across the path. The ADA running-slope limit for walking surfaces is 1:20, meaning the surface cannot rise more than one inch for every 20 inches of travel. Where site conditions allow, precision cutting can correct steep segments so the finished grade falls within the standard.
Document obstructions and route constraints at the same time, including landscaping, utility covers, temporary barriers, and narrow passages. These details help a repair team plan work safely and keep residents moving through the property.
Look for Water, Ponding, and Recurring Trouble
Inspect after rainfall when possible. Standing water, darkened concrete, eroded joints, and runoff crossing the walkway can reveal drainage problems that a dry-weather visit misses. Record the ponding location, approximate extent, and whether it blocks the preferred route. Repeated water exposure can accelerate cracking and spalling, so drainage observations belong in the same maintenance record as trip hazards.
For each issue, add a clear photo, exact location, measurement, and recommended priority. That documentation gives property managers a defensible basis for immediate corrections, budget planning, and follow-up verification while limiting work to the areas that need it most.
ADA-Specific Checklist: Slopes, Transitions, and Displacement Thresholds
ADA-focused inspections require more than spotting visible cracks. Property managers should check whether walking surfaces meet practical accessibility thresholds, especially where panels meet, slopes change, or a raised edge interrupts an otherwise usable route. Record the location, condition, measurements, and recommended action so repairs can be prioritized across the property or portfolio.
Inspection point | Reference condition | What to record or do |
Vertical displacement | A maximum 1/4-inch difference is permitted between adjacent panels. A larger displacement is non-compliant. | Measure the raised or lowered edge, photograph it in context, and flag it for correction. |
Running slope | The ADA running-slope standard for walking surfaces is 1:20, so the surface can rise no more than one inch for every 20 inches of travel. | Check steep segments and document the direction and extent of the slope before planning work. |
Panel transitions | Transitions should be smooth, stable, and free of abrupt edges that catch wheels, canes, or footwear. | Inspect joints, driveway crossings, curb approaches, and changes in paving material. |
Edges and surface changes | Broken corners, spalling, settlement, and ponding can create an accessibility problem even when displacement is limited. | Note the hazard's length, nearby drainage, route impact, and whether it recurs after prior repairs. |
Pay particular attention to transitions
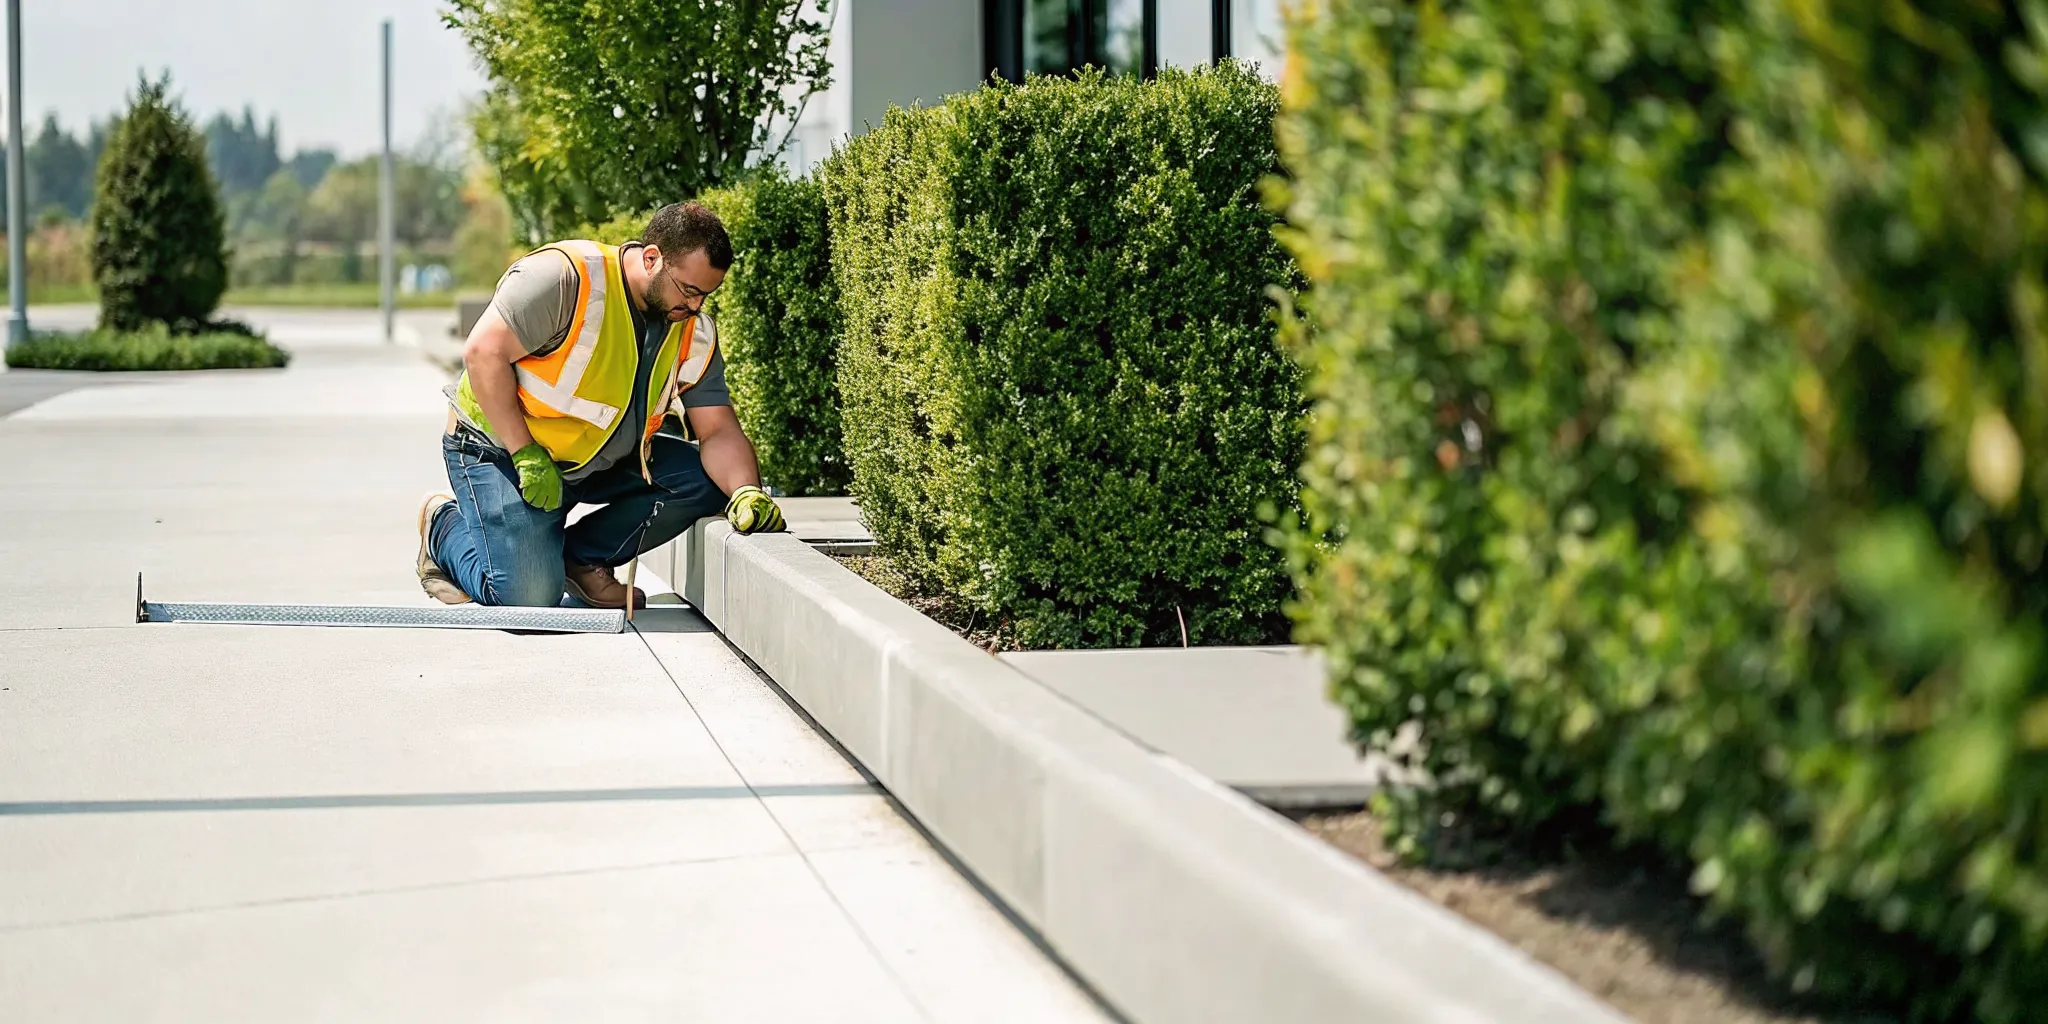
Transitions often deserve a closer look because they connect different surfaces and traffic patterns. Walk the full route between parking areas, building entrances, loading zones, sidewalks, and curb ramps. A joint may appear minor from a distance but feel abrupt when crossed by a wheelchair or mobility device. Check both directions of travel, since a slope or edge can affect users differently depending on the approach.
Turn measurements into a repair plan
Use the threshold findings to separate routine monitoring from action. A displacement above 1/4 inch, a steep or inconsistent slope, or a failing transition should not remain in a general maintenance queue without an owner and target date. Precision Concrete Cutting uses a process of assessing and mapping conditions, removing trip hazards through patented cutting, verifying results, and reporting the work. That creates a clearer record for phased repairs while minimizing disruption for residents and tenants.
How Often Should Commercial Properties Inspect Sidewalks?
A consistent inspection cadence helps property managers catch small surface changes before they become disruptive repairs. It also creates a practical record of what was observed, what was scheduled, and what was resolved. The goal is not to interrupt tenants or residents with constant work. It is to build sidewalk checks into routine property operations.
Use a monthly walk-through for early detection
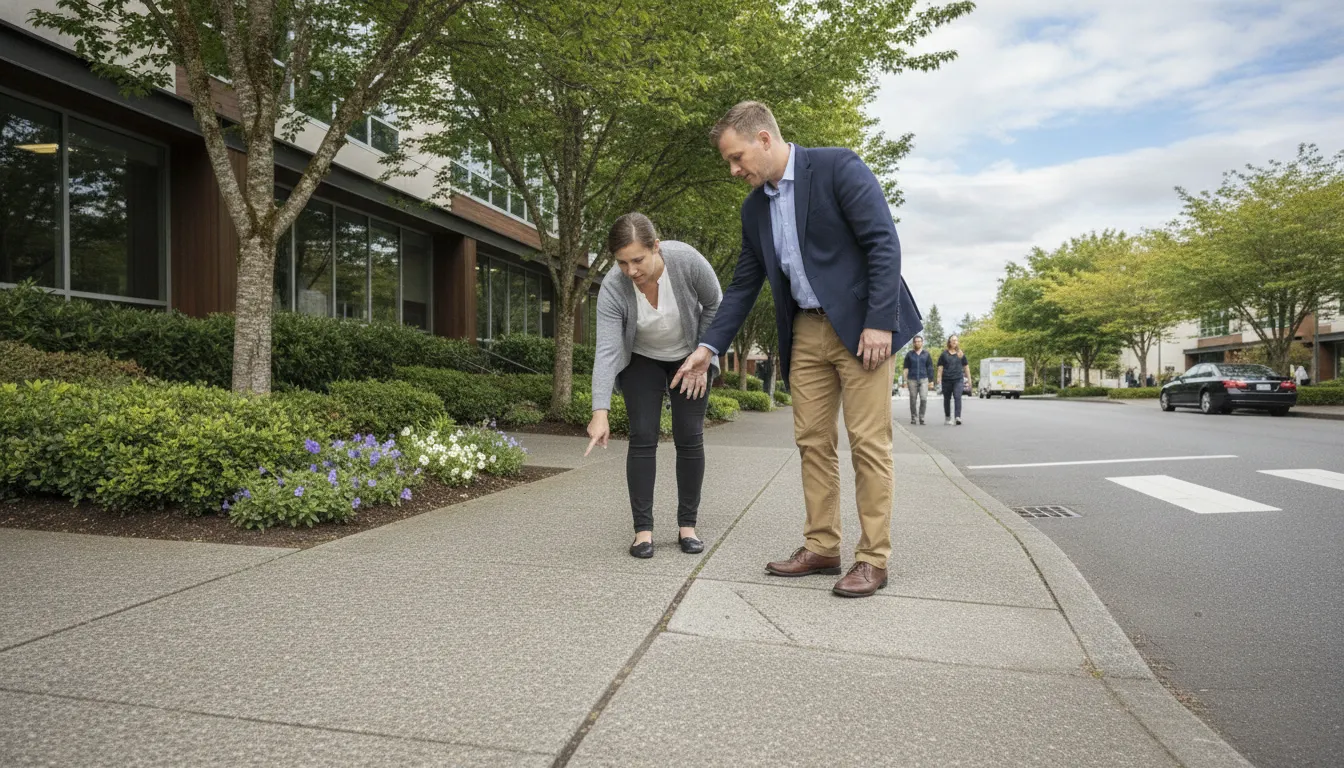
Complete a basic walk-through at least once a month, especially around main entrances, parking-lot connections, accessible routes, loading areas, and locations that receive heavy foot traffic. Look for newly raised or settled concrete, widening cracks, spalling, ponding water, damaged transitions, and changes that could affect an accessible path.
Document the date, property or site area, location of each concern, a brief description, and photographs that show scale and context. A simple priority label, such as monitor, schedule, or address promptly, helps maintenance teams plan without creating unnecessary disruption. For portfolios with multiple properties, consistent notes make it easier to compare recurring problem areas and budget for phased repairs.
Complete a deeper quarterly review
Once each quarter, expand the walk-through into a more detailed checklist. Revisit every known issue, confirm whether conditions have changed, and review transitions, slopes, drainage, and accessible routes. Check that previous repairs remain stable and that water is not collecting near uneven panels.
A quarterly review is also a good time to organize photographs, work orders, and repair recommendations for owners or regional teams. For a fuller maintenance cadence, see how often sidewalks should be inspected.
Inspect after triggers, not just on the calendar
Schedule an additional inspection after severe storms, flooding, freeze-thaw conditions, construction activity, or other events that may shift or damage concrete. Inspect promptly when a resident, tenant, employee, or vendor reports a concern. A complaint should be treated as a location-specific signal to investigate, not as a reason to wait for the next monthly round.
When a finding exceeds the team's ability to evaluate confidently, or when the same area generates repeat complaints, obtain a documented professional assessment. That approach gives property managers a clearer repair scope while supporting phased scheduling and predictable budgeting.
When Should You Hire a Professional Instead of Self-Inspecting?
Routine self-inspections are useful for spotting visible problems early, especially when a property manager oversees multiple buildings or walkways. A trained employee can walk the site, note cracked or displaced concrete, photograph concerns, and flag areas that need follow-up. This practical first pass helps the team respond quickly without waiting for a formal assessment for every minor observation.
Know What a Walk-Through Can and Cannot Confirm
Self-inspection has limits. Two people may judge the same uneven transition differently, and a visual review can miss ADA nuances involving slopes, cross slopes, drainage, and the relationship between adjoining panels. Without a consistent measuring method, the record may show that a hazard exists but not document its size, severity, or priority for repair.
Call a professional when the condition requires a defensible measurement or a repair recommendation. A vertical displacement above the ADA 1/4-inch threshold is a clear reason to request an assessment. Failing transitions, steep or difficult-to-navigate slopes, and recurring complaints also deserve more than a quick visual check. These conditions may affect accessibility even when they appear minor from a distance.
A professional assessment is particularly valuable when the property team needs documentation for insurance, compliance planning, ownership reporting, or a capital budget. The assessor can use consistent measurements, location data, photographs, and repair priorities to create a record that different stakeholders can understand and act on. For portfolios with repeated issues, a commercial sidewalk safety audit can turn scattered observations into a structured maintenance plan.
Use self-inspections for routine monitoring, then escalate based on risk and uncertainty. If staff cannot confidently measure the condition, explain why it matters, or determine whether a repair solved the problem. Bringing in a professional protects the quality of the decision and helps the property team plan work with less disruption.
How Should You Record and Act on Inspection Findings?
A consistent record turns a walk-through into a maintenance plan. Documenting sidewalk hazards also gives property managers a clear history of what was found, what was prioritized, and how each issue was resolved. That record can support insurance reviews, compliance discussions, capital planning, and communication with owners or boards.
Record measurements and photos for each finding.
Assign every issue a location, date, and reference point, such as a building entrance, walkway segment, or panel number. Note the type of defect, measure vertical displacement where applicable, and photograph the hazard from a useful distance and close range. Include drainage concerns, surface deterioration, slopes, and transitions. A repeatable record makes it easier to compare conditions during the next inspection. For a deeper documentation process, see
.
- Prioritize by hazard severity and ADA compliance.
Separate immediate trip hazards and access concerns from conditions that can be monitored. A vertical displacement of 1/4 inch or more should receive prompt attention because it can create a non-compliant transition. Consider pedestrian volume, proximity to entrances, the needs of people using mobility devices, and whether the same location has generated complaints.
- Phase repairs across the property.
Group findings by building, walkway, or severity so the repair plan matches available funds and operating priorities. A phased plan lets managers address the highest-risk locations first while preserving a documented queue for lower-priority work. GPS and GIS-based records can help organize findings across multiple properties and support budget conversations.
- Schedule repairs with minimal tenant disruption.
Coordinate work around resident traffic, deliveries, events, and accessibility needs. Notify affected occupants, define temporary routes, and schedule sections in practical phases. Precision cutting and trip hazard removal can often address qualifying hazards without the disruption of full sidewalk replacement.
Verify results and retain completed documentation.
Reinspect repaired areas, take completion photos, record the work performed, and note any remaining conditions. Store inspection and repair records with property maintenance files so the team can demonstrate a consistent process. For a broader maintenance strategy, review
the complete trip hazard removal guide for property managers
.
Ready to act on your findings? Call 1-877-224-0025 or schedule a sidewalk safety assessment online to get a documented repair plan for your properties.
Frequently Asked Questions
What should property managers look for during a sidewalk safety inspection?
Check for vertical displacement between concrete panels, cracks, spalling, uneven transitions, steep slopes, and drainage or ponding. Note each location, photograph the condition, and record whether it affects a main walkway, entrance, accessible route, or high-traffic area. This creates a practical repair list rather than a general note that the sidewalk needs attention.
What is the ADA vertical displacement threshold for sidewalks?
A vertical difference greater than 1/4 inch between adjacent sidewalk sections is generally treated as a non-compliant condition requiring correction. Measure questionable transitions rather than relying only on a visual review, then document the measurement and the panel locations so repairs can be prioritized and verified.
How often should commercial properties inspect sidewalks?
A monthly walk-through is a practical baseline for active commercial properties, supported by a more detailed quarterly checklist. Inspect again after severe weather, construction, landscaping work, or a tenant or visitor complaint. Properties with heavy foot traffic, multiple buildings, or recurring defects may need a more frequent review.
What is a sidewalk inspection checklist used for?
It gives the property team a consistent way to identify hazards, assess accessibility concerns, assign priorities, and track repairs over time. A complete record can include photos, measurements, dates, locations, recommended actions, and completion notes. That documentation helps coordinate vendors and plan phased work with less disruption to tenants and visitors.
When should a property manager hire a professional for a sidewalk inspection?
Bring in a professional when you find displacement above the applicable threshold, failing transitions, steep slopes, recurring complaints, or widespread defects across multiple sites. Professional assessment is also useful when you need a documented condition report, repair plan, accessibility review, or verification that completed work resolved the hazard.
Ready to schedule a sidewalk safety assessment?
A focused assessment can help you turn inspection findings into a clear repair plan, with practical next steps for your properties and minimal disruption for residents or tenants. To schedule a sidewalk safety assessment, call 1-877-224-0025 and speak with the Precision Concrete Cutting team. Share the property details and the areas you want reviewed so the next step stays focused on your maintenance priorities.



Comments