Accessible Route Inspection Checklist for Property Teams
Updated: Oct 13
A single failed ADA inspection can stop a project and delay tenant move-ins. Using an accessible route inspection checklist helps property managers find gaps before they become legal risks. This step ensures your walkways remain safe and open to every visitor.
Ready to schedule a professional accessible route inspection for your property? Call (801) 373.6060 today to speak with Precision Concrete Cutting about a free on-site assessment.
The accessible route inspection checklist is a tool used to check if paths follow the 2010 ADA Standards. It helps property teams look at slopes and surface levels to find trip hazards and curb ramp gaps that cause legal or safety problems. Regular audits help you find small issues like uneven joints before they become hazards that block visitors from moving through your property with ease.
Precision Concrete Cutting has removed over 30 million trip hazards since 2002 across 80 locations on three continents using patented precision cutting technology. Our proprietary GIS-based survey system documents each hazard with exact GPS coordinates, giving property teams the data they need for defensible compliance records. Understanding what an accessible route inspection checklist covers is the first step toward a safer property that meets all federal rules.
What Is an Accessible Route Inspection Checklist?
An accessible route inspection checklist is a structured tool that helps property teams evaluate sidewalks, ramps, curb cuts, and walkways against the 2010 ADA Standards. It tracks specific measurements including cross slope, running slope, vertical displacement, clear width. And detectable warning presence to identify trip hazards and access barriers before they cause injuries or fines.
Property managers use an accessible route inspection checklist to look for risks before they cause falls. It lists specific points to check, such as width and path type. By using a set list, you can keep your walkways safe for all tenants. This work lowers the risk of lawsuits. It also helps you plan repairs that fit your budget while causing less stress for people who live there. You can use these results to build ADA sidewalk slope compliance standards for your site.
Most teams use this list once or twice a year. It helps them spot small cracks or shifts before they turn into trip hazards. Instead of replacing whole slabs, you can engage a precision cutting specialist like Precision Concrete Cutting for targeted trip hazard removal. This method saves time and cash. It also keeps your site looking good without the mess of full demolition.
Meeting federal design standards
The 2010 ADA Standards set the rules for all public paths. These standards give the basic needs for a site to be usable by everyone. If your routes do not meet these rules, you may face fines or other issues. A checklist helps you show that your walkways match these federal laws.
One key rule to check is the cross slope of your paths. Based on federal rules, the cross slope on any path must not be more than 2 percent. Even a small tilt can make a path hard to use for someone in a chair. A checklist ensures you measure these angles with exact tools. Precision Concrete Cutting's patented cutting technology achieves a 1:12 slope, the same slope standard the ADA sets for ramps.
A tool for long term planning
A checklist does more than just find flaws. It gives data that helps you manage your site over many years. You can use the facts to track how your sidewalks change over time. This makes it easier to set up a repair plan. By staying ahead of rule issues, you protect your costs. You also show your tenants that their safety is a main goal.
Essential Tools for Conducting an Accessible Route Inspection
An accurate accessible route inspection requires a 25-foot tape measure for path width and reach range checks, a 24-inch and 48-inch digital level for slope measurement. A door pressure gauge to verify interior doors stay under the 5-pound force limit. And a digital camera to document every defect with photos that build a defensible audit trail.
Doing a good accessible route inspection checklist takes more than just a quick look at your site. To find small risks before they grow, you need the right tools for field work. These items help you get exact data that fits federal and local rules.
Basic measurement tools
A 25-foot tape measure is the first tool every inspector needs. It helps you check path widths, reach ranges, and the height of signs. You also need levels to find slope issues. A 24-inch and a 48-inch digital level are the best for checking if a ramp or sidewalk is too steep. For example, a cross slope on a curb ramp must stay at or below 2 percent to meet safety standards.
Digital levels give you a fast view of the data in a clear format. This is much better than a bubble level when you must show a ramp meets the 8.33 percent limit for new work. Small errors in a slope are hard to see by eye but easy to find with the right tool.
Door and force gauges
Checking doors is a key part of any walkthrough. You will need a door pressure gauge to test how much force it takes to open a door. Per 2010 ADA Section 404.2.9, interior doors must not need more than 5 pounds of force to open. Heavy doors can block people with low strength from using your rooms.
After you identify trip hazards on your paths, Precision Concrete Cutting can fix them through precision cutting. Unlike grinding services that only remove about 30 percent of hazards and require re-treatment every 3 to 7 years. Precision cutting eliminates 100 percent of the vertical displacement permanently. The GIS sidewalk management technology from Precision Concrete Cutting also documents every repair with GPS data for your compliance records.
Step-by-Step Accessible Route Inspection Checklist
Follow this seven-step accessible route inspection checklist: check vertical displacement over 1/4 inch, measure cross slope at 2 percent or less, verify running slope under 8.33 percent. Inspect ramp transitions for flush connections, confirm detectable warning tiles at curb ramps, measure clear width at 36 inches minimum, and test door force under 5 pounds.
A clear accessible route inspection checklist helps property teams find and fix hazards before they lead to fines. Use these steps to check your walkways for safety and 2010 ADA Standards compliance. If you find many issues, a professional sidewalk assessment process can help you plan your repairs.
Check surface conditions and level changes
Start your walk by looking at the ground. You must check for any vertical displacement where two panels of concrete meet. The 2010 ADA Standards state that vertical changes over 1/4 inch need a repair. If the change is between 1/4 inch and 1/2 inch, you must bevel the edge. Any gap or change larger than 1/2 inch needs a ramp or a full repair. These small lips often cause trips and falls on busy property paths. Precision Concrete Cutting's cutting process eliminates these vertical offsets permanently without the need for full slab replacement.
Measure walkway slopes and widths
Use a level to check the slope of your paths. The cross slope of any accessible route must not exceed 2 percent to keep wheels from veering. For new paths, the running slope must stay below 8.33 percent. You also need to check the width of the path. A clear route needs at least 36 inches of width to let people pass. Ensure no plants or signs block this space at any point along the route.
- Check vertical displacement.
Find any spots where the concrete has shifted or settled. Any lip over 1/4 inch is a hazard that needs precision cutting to reach a flush state.
- Measure the cross slope.
Use a digital level to ensure the side-to-side slope is no more than 2 percent. This keeps people in wheelchairs safe from sliding toward the street.
- Check the running slope.
Verify that the path of travel does not rise too fast. A slope over 8.33 percent makes a path hard for many people to use without help.
- Verify ramp transitions.
Transitions on and off a curb ramp must be flush. There can be no abrupt level changes where the ramp meets the gutter.
- Inspect detectable warnings.
Look for the dome-shaped bumps at the bottom of ramps. These must cover the full width and depth of the ramp to warn people who are blind of a roadway.
- Confirm clear width.
Measure the narrowest parts of your path. You need 36 inches of clear space between walls, posts, or bushes to meet basic accessibility rules.
- Test door hardware.
Check that all doors on the route open with low force. Interior doors should not need more than 5 pounds of force to push or pull open.
Review transitions and warnings
The final part of your route check focuses on curb ramps and door hardware. Check the gutter slope at the bottom of ramps to ensure it does not exceed 5 percent. Look for dome-shaped bumps that cover the full ramp width to alert walkers of a street. Finally, ensure all door handles are easy to use without tight grasping. These small details ensure your route is truly safe and open to every person.
Common ADA Violations Found During Route Inspections
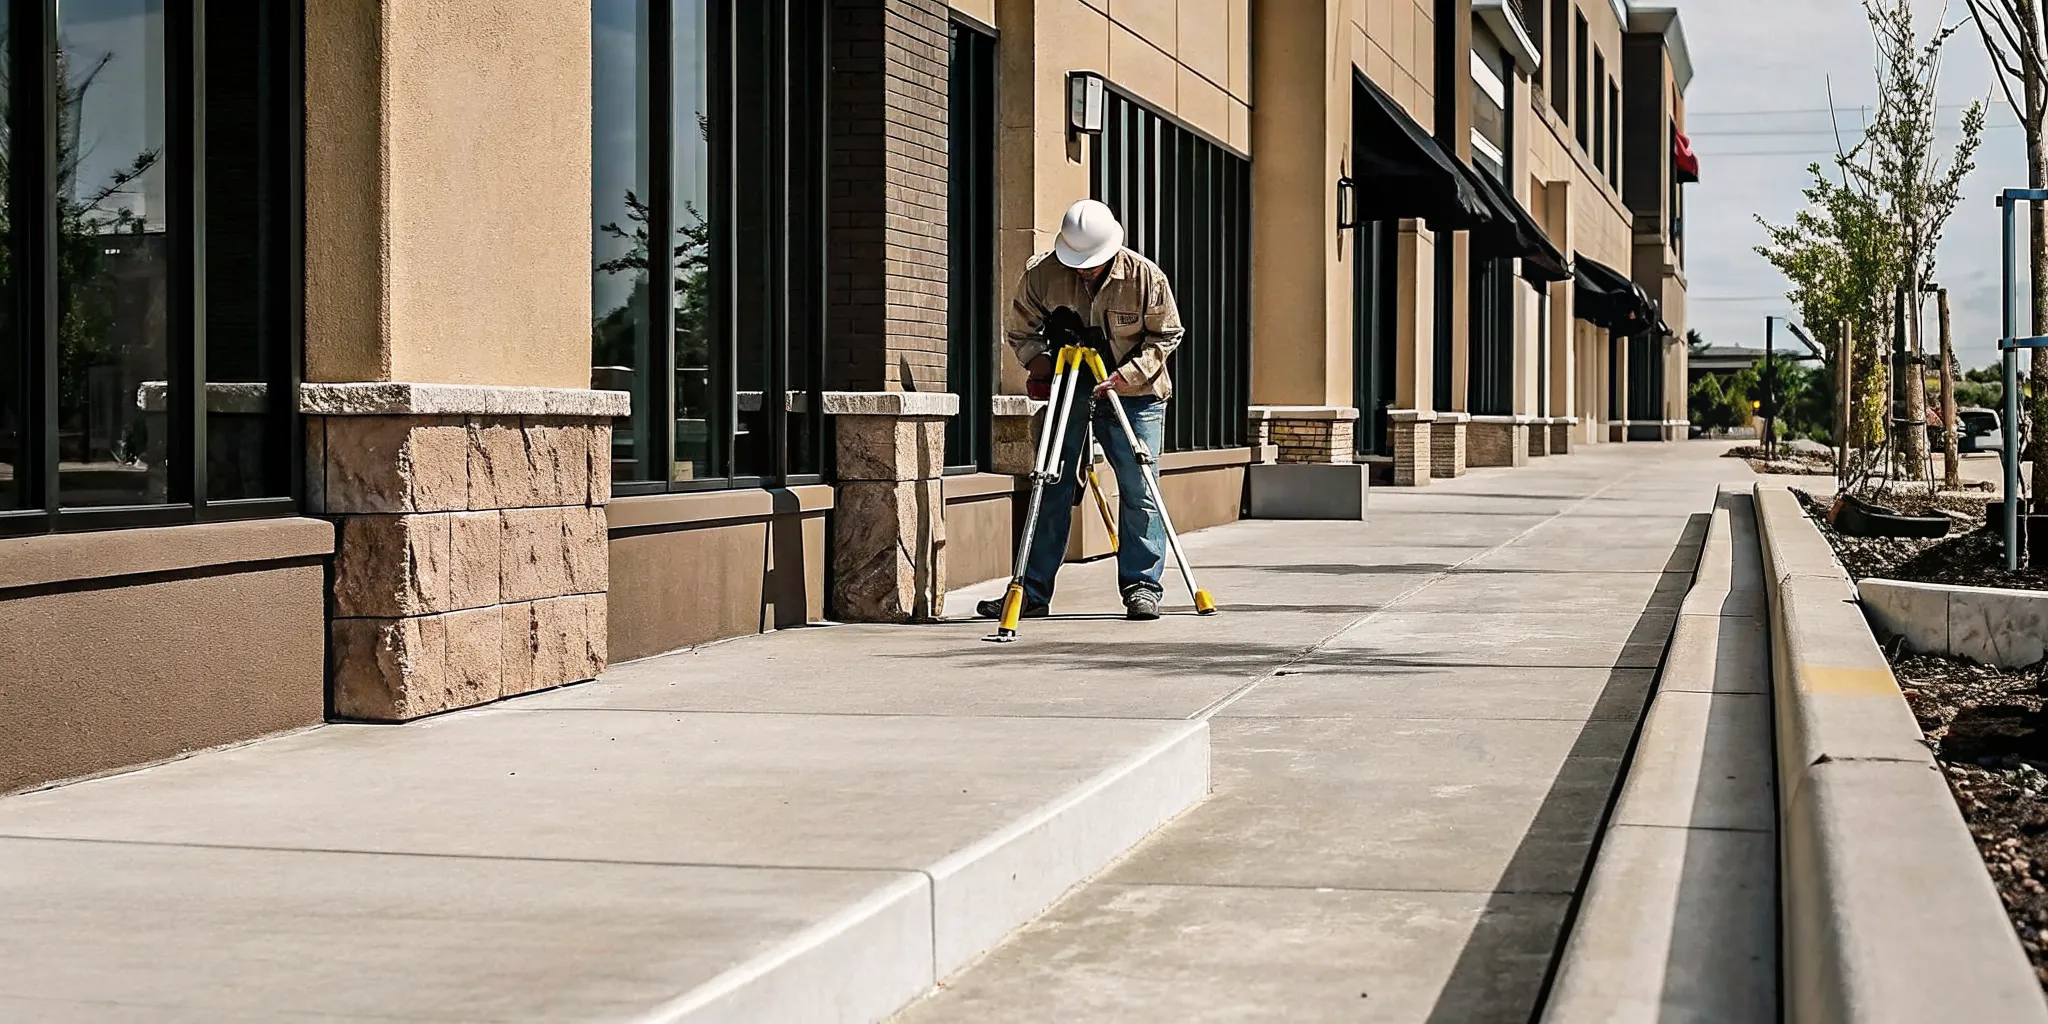
The most frequent ADA violations found during route inspections include cross slopes exceeding 2 percent, vertical displacements over 1/4 inch at panel joints. Missing detectable warning tiles at curb ramps, abrupt transition gaps where ramps meet the gutter, and interior door forces above the 5-pound limit that block wheelchair access.
A failed route inspection can cause major delays and high costs. Most issues come from small errors in the finish phase or wear over time. By knowing which problems occur most often, you can find them early and fix them before the final walkthrough.
Physical barriers and slope issues
The most common issues found on an accessible route inspection checklist involve steep slopes. Standards from the 2010 ADA rules require a cross slope of 2 percent or less. Even a slight rise above this limit can make a path unsafe for a person in a wheelchair. These errors often happen when pavers shift or when concrete is poured without the right pitch.
Large projects often need a two-walkthrough process to catch these errors. You should check major parts like ramps and entrances four weeks before the official inspection. This gives you time to make changes without delaying the move-in date. A second check two weeks out focuses on finish items like signs and door hardware.
Transitions and detectable warnings
Curb ramp transitions must be flush with the street and sidewalk. Any gap or bump can stop a wheelchair or cause a person to trip. These transition points cannot have any abrupt level changes per federal safety guides. Inspections also look for the right warning tiles at the bottom of these ramps.
Detectable warnings are the dome-shaped bumps you see on sidewalk edges. They must cover the full width and depth of the ramp run to help people who are blind. If these are missing or worn down, the site will fail its audit. Using common sidewalk ADA warning signs can help you spot these gaps on your property.
Violation Type | Consequence | Common Fix |
Slope over 2% | Held move-in date | Leveling or repour |
Missing warnings | Safety risk and fine | Install dome tiles |
Transition gaps | Trip hazard liability | Precision concrete cutting |
Tight door force | Access barrier | Adjust door closer |
Narrow width | Code failure | Clear the path |
Access and door force limits
Indoor doors have strict limits on how much force is needed to open them. Per Section 404.2.9 of the ADA rules, most doors should not need more than 5 lbf of force. If a door is too heavy or the closer is too stiff, it blocks access for some users. You can use a simple pressure gauge to check this during your own walkthrough.
How Often Should You Conduct Accessible Route Inspections?
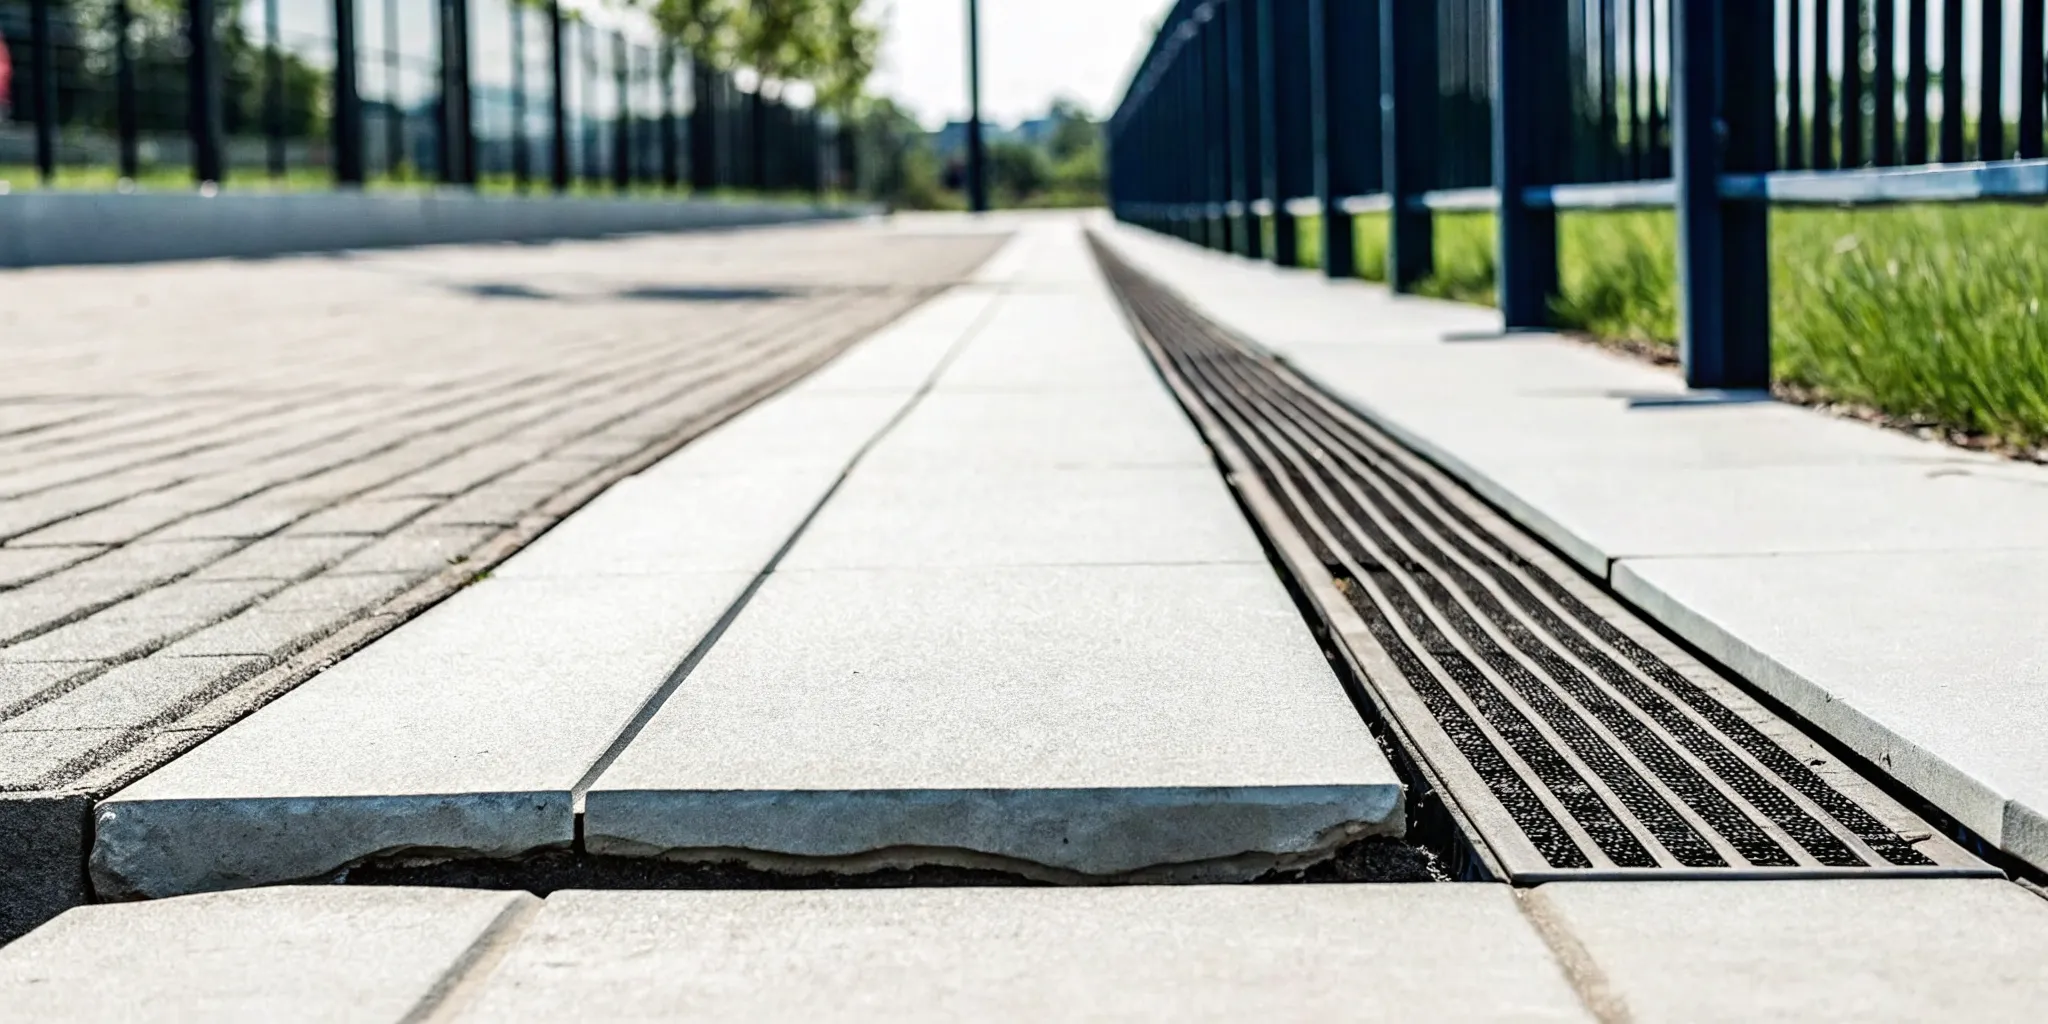
Property teams should conduct accessible route inspections at least once per year, with additional checks before and after any construction or site modification that could shift walkway surfaces. In freeze-thaw climates, a spring inspection after the last deep freeze is essential to catch winter heave that creates new vertical offsets between panels.
Regular sidewalk checks help property teams avoid large legal risks and keep tenants safe. Using an accessible route inspection checklist ensures you find hazards before they cause a fall. Most experts suggest a mix of set yearly reviews and event-based checks to stay ahead of sidewalk wear.
Set a yearly inspection schedule
For most sites, a yearly review is the best way to stay safe. Most teams can finish a full walk of their paths in about 25 to 30 minutes. This yearly habit helps you catch small cracks or shifts before they turn into costly trip hazards. Staying on top of your schedule is key for maintaining ADA compliant walkways year-round.
The 2010 ADA Standards set the minimum rules for site access. These rules apply to both new builds and older sites that have changes. If you wait too long between checks, small issues can lead to big fines. A yearly look at your paths keeps your property in line with these federal laws.
Watch for construction and site changes
New building work or site repairs often shift the ground. You should always check your paths before and after any big project on your lot. These checks ensure that no new barriers were made during the work. For large projects over 50,000 square feet, a two-step walkthrough is best.
Run the first walk four weeks before the final check to find major issues.
Conduct a second walk two weeks out to check finish items like signs and hardware.
Verify that all transitions are flush and free of abrupt level changes.
This timing gives your team enough room to fix errors before a final state check. Catching a mistake late can hold up your move-in dates or cost you more in quick repairs. It is much cheaper to fix a slope error early than to re-pour concrete after a failed review. Precision Concrete Cutting performs same-day trip hazard repairs with immediate site reopening, avoiding the multi-day closures that demolition and replacement require.
Plan around local weather cycles
Weather plays a huge role in how sidewalks shift over time. In areas with cold winters, the freeze-thaw cycle can push concrete slabs up or out of place. It is wise to check your walkways every spring after the last deep freeze. This helps you find new vertical offsets that may have formed during the winter months when the ground was moving.
A proactive plan saves money by letting you fix small problems through precision cutting rather than full slab replacement. The patented cutting technology used by Precision Concrete Cutting creates a 1:12 slope that exceeds ADA requirements and lasts indefinitely without the settlement issues that plague mudjacking. Waiting until a fall occurs or a fine is issued is a much more expensive path.
Documenting Your Inspection Findings
A well-documented inspection record tracks each defect with hazard rating, photos, GPS coordinates, and repair status. Digital reporting platforms that integrate with GIS systems give property teams a verifiable audit trail that supports budget planning. Liability defense, and multi-year maintenance scheduling across any number of buildings.
A good accessible route inspection checklist does more than find trip hazards. It creates a full record for your property. These records help you plan your budget and protect you from legal risks.
Build a strong audit trail
Your team should record each defect with clear notes and photos. Take photos before and after any repairs to show proof of work. This shows that you took steps to fix risks. Each entry should include a hazard rating. Experts suggest doing an annual inspection of your site. Most checks take about 25 to 30 minutes to finish for a small area.
A solid audit trail proves you are keeping up with the law. This trail is vital for your defense in case of a claim. Clear notes also help with insurance claims. If a guest trips, you can show your inspection logs as proof of care. Proper records can save property managers from high costs later.
Use digital reports for better data
Paper lists can get lost or damaged over time. Digital reports are safer and easier to share with your team. A tech-led approach uses GPS and high-quality photos to map your site. These reports give you a full view of your concrete needs. GPS tracking lets you see exactly where each repair is located. This is useful for managers who oversee many buildings at once.
Precision Concrete Cutting provides a proprietary GIS-based survey system that logs each trip hazard with precise GPS coordinates, severity classifications, and recommended repair strategies. This data integrates with municipal ESRI systems through SHP file formats. Making it easy for city engineering departments and property teams to incorporate sidewalk repair data into their existing asset management platforms. You can see which areas need work now and which can wait, making budget planning for multi-site repairs simple. To learn more about technology-driven sidewalk management, visit GIS sidewalk management from Precision Concrete Cutting.
Frequently Asked Questions
How wide does an accessible route need to be?
Based on the 2010 ADA Standards, an accessible route must be at least 36 inches wide. This width can drop to 32 inches for a short length of 24 inches at doors. If the path is less than 60 inches wide, you must add passing spaces every 200 feet so wheelchairs can pass each other.
What are the slope requirements for an ADA accessible route?
The Department of Justice says that the cross slope of an accessible route must not be more than 2 percent. For new builds, the running slope of a ramp must not go over 8.33 percent. Keeping these exact angles helps people in wheelchairs move safely without the risk of tipping or too much strain. Precision Concrete Cutting's patented process achieves a 1:12 slope, which is 33 percent gentler than the ADA standard.
What happens if a property fails an ADA inspection?
Failing an inspection can lead to a held Certificate of Occupancy and late move-in dates. Property owners or teams may face high costs to fix bad ramps or high counters. The average ADA settlement runs about $47,500 per incident, and some municipalities have faced settlements as high as $18.5 million. Regular inspections with a proper checklist reduce this risk.
Can trip hazards be fixed without removing the entire sidewalk slab?
Yes. Precision Concrete Cutting's patented cutting technology removes vertical displacement at the panel joint without demolishing or replacing the entire slab. The process takes about 15 minutes per hazard, costs on average 80 percent less than full replacement, and the walkway reopens immediately. This method produces a 1:12 slope, the same slope standard the ADA sets for ramps.
How is an accessible route different from a standard walkway?
An accessible route is a continuous, unobstructed path that connects all accessible elements and spaces in a building or facility. It must meet specific ADA requirements for width, slope, surface texture, and clearance that standard walkways may not. All public accommodations must provide at least one accessible route from the site arrival point to the building entrance.
Ready to Turn Your Inspection Findings Into Action?
An accessible route inspection checklist is only useful when you act on what it reveals. Every vertical displacement over 1/4 inch, every cross slope over 2 percent, and every missing detectable warning is a liability waiting to become a claim. Precision Concrete Cutting has helped property teams across 80 locations fix over 30 million trip hazards since 2002 using patented precision cutting technology that eliminates hazards permanently in a single visit.
Call (801) 373.6060 today to schedule a free on-site assessment. A Precision Concrete Cutting specialist will survey your property, document every hazard with GPS coordinates, and provide a fixed-price repair plan -- all at no obligation.



Comments