Concrete Trip Hazard Identification and Risk Guide
Updated: Oct 23
One missed concrete trip hazard can expose walkers to harm and property managers to avoidable risk.
Request a professional sidewalk assessment to identify and prioritize hazards across your property.
A concrete trip hazard is any vertical change in a sidewalk that measures one-quarter of an inch or higher. This standard comes from the Americans with Disabilities Act (ADA). It marks the point where a walkway becomes a legal risk for property owners. Finding these hazards early is vital. Falls are a leading cause of death for older adults according to the Centers for Disease Control and Prevention. To manage this risk, property managers should use a clear plan to find, check, and map every defect. Recording these issues helps you rank repairs by importance. It also shows that you are taking active steps to keep your site safe. Precision concrete cutting offers a way to fix these issues for a low cost.
While the general idea of a safety risk seems clear, the small details are often more complex. You need to know exactly which defects need quick action to stay in line with federal law. Learning the specific rules will help you build a better plan for your property. We will start by answering the question: What counts as a concrete trip hazard? The path begins with
What counts as a concrete trip hazard?
A concrete trip hazard is any spot on a sidewalk where the surface is not flat or level. These gaps and bumps make it easy for people to stumble or fall. While a small lip might seem like a minor issue, it can lead to big problems. For property owners, finding these hazards is the first step toward keeping people safe and following the law. It is much better to find a lift early than to deal with a safety claim later.
Federal standards for sidewalk safety
The Americans with Disabilities Act (ADA) sets clear rules for public paths. Under the ADA, a concrete trip hazard is any vertical change in height of 1/4 inch or more. Even a small rise can stop a wheelchair or trip a person using a walker. If a crack or lift is higher than this limit, the law says you must fix it. This ensures that everyone can move freely and safely along your property.
Other groups have slightly different rules that you should know. For example, the Department of Housing and Urban Development (HUD) uses the NSPIRE standard. HUD defines a trip hazard as a vertical gap of 3/4 inch or more. They also look at horizontal gaps. If a crack is two inches wide or more, it is a safety deficiency that needs a quick response. Knowing these specific numbers helps you plan your upkeep with sure steps.
Common causes of uneven concrete
Concrete slabs shift and move over time for many reasons. Tree roots are a very common cause because they grow under the walk and push the pads up. Soil also changes when it gets wet or dry. These natural changes create the sharp vertical lips that define a hazard. Some of the most common reasons for sidewalk shifts include:
Tree roots growing under the concrete and lifting the slab.
Soil that washes away after heavy rain or poor drainage.
Ground that swells and moves during cold winter freezes.
Soil that shrinks and settles during long dry spells.
Most hazards start small but grow worse with each passing season. A tiny 1/4-inch lift can quickly become a one-inch gap as the soil shifts more. This is why regular checks are so important for your property. Using a professional sidewalk repair cost comparison can remove these lips before they cause a fall. This method is often much faster and costs much less than replacing the entire slab.
Why inspection standards matter
Having a set way to check your sidewalks keeps your safety program fair and strong. Without a standard, one person might miss a hazard that someone else sees. A steady process ensures you find every lift that meets the ADA limit. This level of care is vital because falls are a leading cause of injury for older adults. In fact, one out of five falls results in a serious injury like a broken bone or head wound.
Using clear rules also helps you manage your repair budget. You can list every hazard by its height and spot to see which ones are the most unsafe. This allows you to fix the worst spots first to lower your risk. When you use expert trip hazard removal services, you get a clear record of the work done. This data is helpful if you ever need to prove that you take sidewalk safety seriously. Early care keeps your walkways open and your legal risk low.
How to inspect walkways for concrete trip hazards
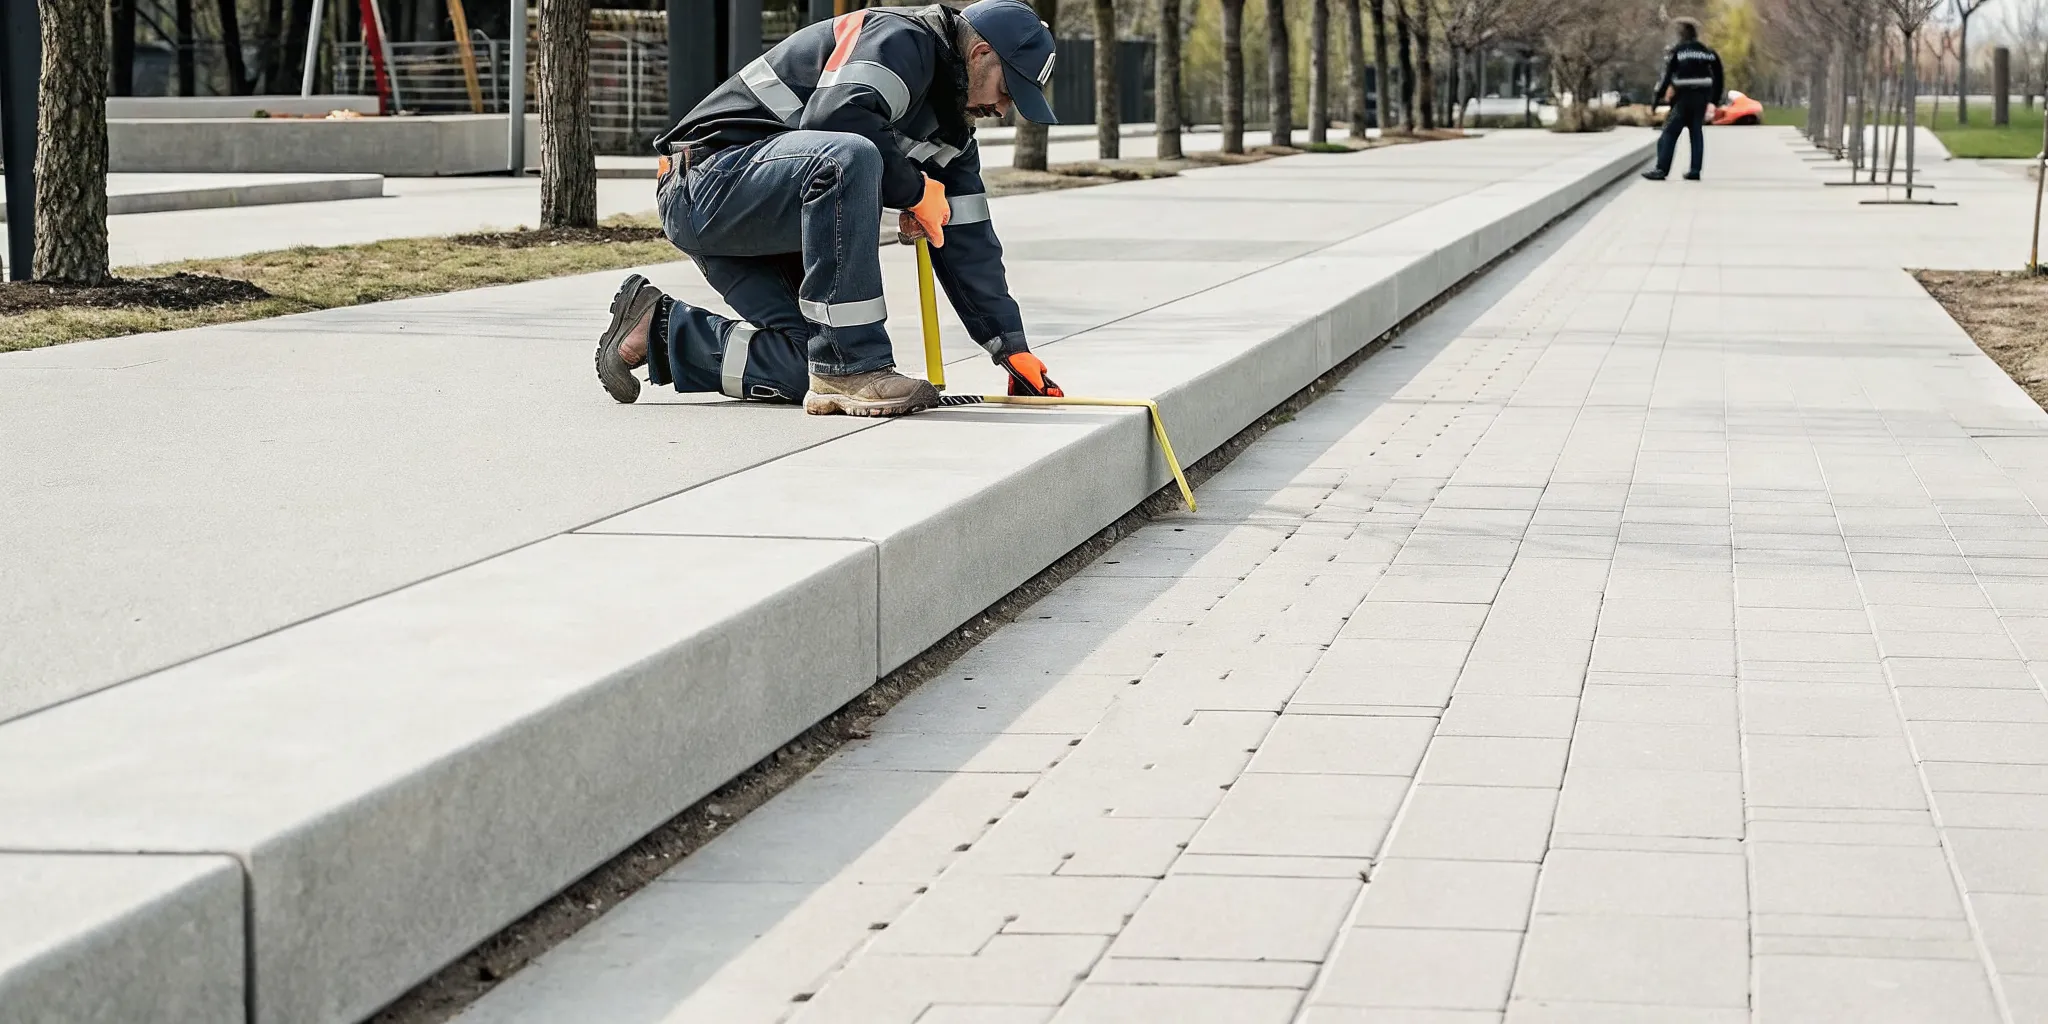
Consistent measurements help property teams document and prioritize each hazard.
Property managers must keep paths safe for all people. A concrete trip hazard can lead to bad falls and high costs. Federal rules define a hazard as any rise of 1/4 inch or more. Frequent checks help you find these spots before they cause harm. By using a set plan, you can track risks and find the best ways to fix the walk.
Staying ahead of repairs saves money over time. Small lifts in the walk often grow into big problems. Tree roots or shifts in the soil can push up the slabs. Finding these issues early lets you use a cutting versus slab replacement analysis. This method is much cheaper than tearing out the old walk.
Site map for tracking progress
Before you start your walk, get a map of your site. Mark every path, entry, and common area. As you walk, note the exact spot where you find a concrete trip hazard. This map helps you show the repair crew where to work. It also acts as proof that you are checking the site for safety. You can use a paper map or a digital tool to save your notes.
Tools for measuring height
You need more than just your eyes to find a concrete trip hazard. A small tape measure or a height gauge is a must. These tools tell you if a rise meets the 1/4 inch rule. A camera or phone is also helpful for taking photos of each spot. Photos show the type of damage and help you plan the fix. The HUD NSPIRE standards say that daily checks are the best way to keep paths safe.
High traffic zones
Spend most of your time on paths that people use the most. This includes the walk to the front door and the way to the mail room. Check the area near parking spots and bus stops. Look for slabs that are no longer flat or even. In winter or wet times, the ground can shift and lift the walk. A concrete trip hazard can form in just a few months. Checking these zones often will help keep your site safe.
Walk the full path. Go slowly along every walkway on your property and look for any spot where one slab is higher than the next.
Measure each upward lift. Use your tool to check the height of each ledge and note any spot that is at least 1/4 inch tall.
Check for wide gaps. Open spaces between slabs are also a
concrete trip hazard
. Note any gaps that are wider than 1/2 inch.
Mark the spot. Use a bit of paint or take a photo with a location tag. This helps the repair team find the hazard fast.
Rank the risks. List how high each hazard is. Fix the tallest ones first to keep people safe and stay within your budget.
Look for water issues. Check if water sits near the uneven slabs. Bad drainage can wash away the soil under the walk.
Check the lights. Make sure the lights are bright enough to see the path. Dark areas make a
concrete trip hazard
much more risky.
Falls are a top cause of injury for older adults. The Centers for Disease Control and Prevention says that one in four older adults falls each year. Taking the time to find every concrete trip hazard protects your residents and guests. It also helps you avoid large legal costs and fees from accidents.
When you find a hazard, you must act fast to fix it. Delaying a repair can lead to more risk and higher prices. Expert teams can remove these risks without the mess of big machines. Once your audit is done, you should get a pro check of the walk. This ensures that every spot meets the law and keeps everyone safe.
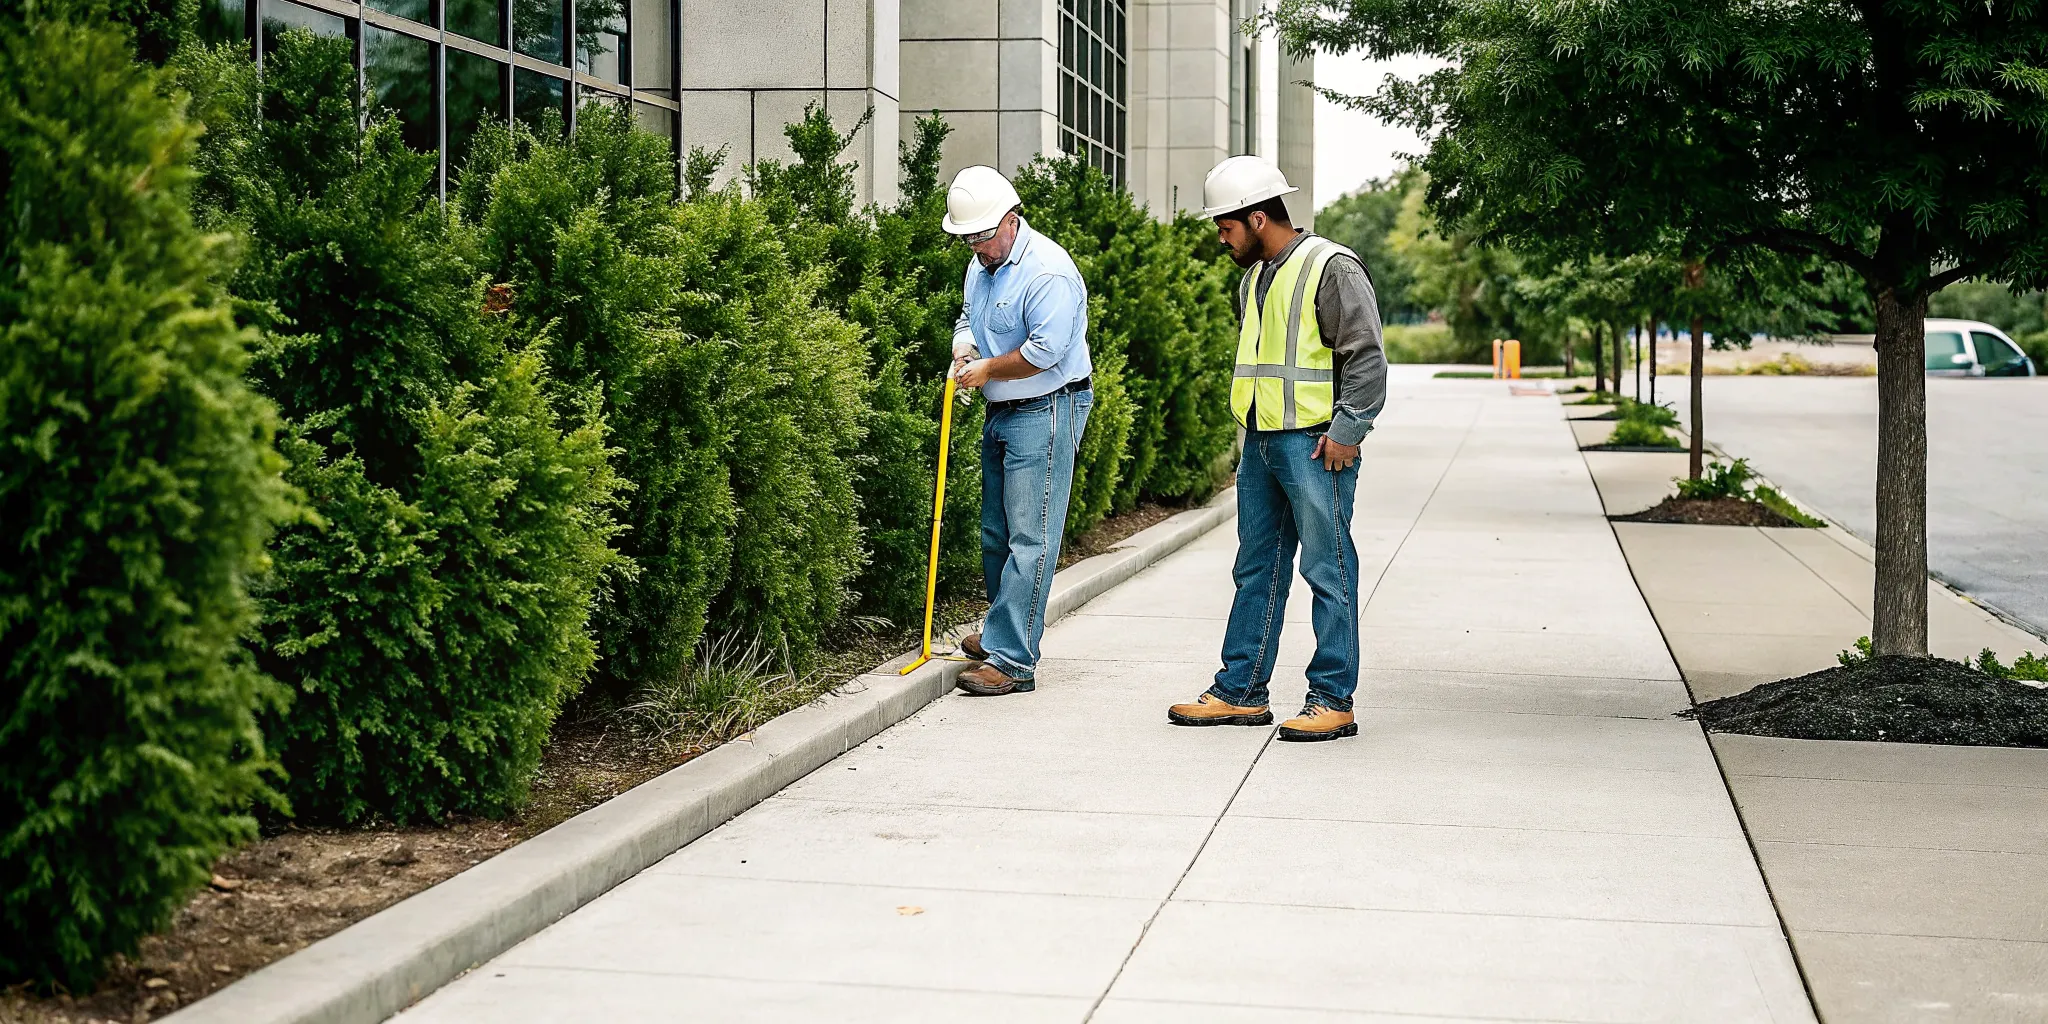
Consistent measurement and documentation help property managers compare hazards and prioritize repairs.
How should property managers assess trip hazard risk?
Property managers and site owners must keep people safe and avoid lawsuits. Finding a concrete trip hazard is just the first step in your plan. You need a way to rank these risks to fix the worst ones first. This helps you use your money in the best way while showing you care about safety.
Measuring hazard height and traffic volume
The size of a bump in the sidewalk matters a lot. One U.S. rule says a trip hazard starts at 3/4 of an inch, but most ADA rules are much tighter. Any rise of 1/4 inch or more is a real risk. You should map every hazard you find on your site and note the height of each ledge with care.
Also, think about how many people walk on that path each day. A busy path near a shop or a school needs more care than a back path. High traffic means a higher chance of a fall or a trip. If many people use the path, a small bump can lead to a big legal claim, so check these spots often.
Checking site users and route importance
Think about who lives or works at your site. Falls are a huge risk for some groups, and the CDC says one in four older adults falls each year. If your site has many seniors, you must be very careful. A fall can lead to a bad injury, which is a big deal for both the person and your business.
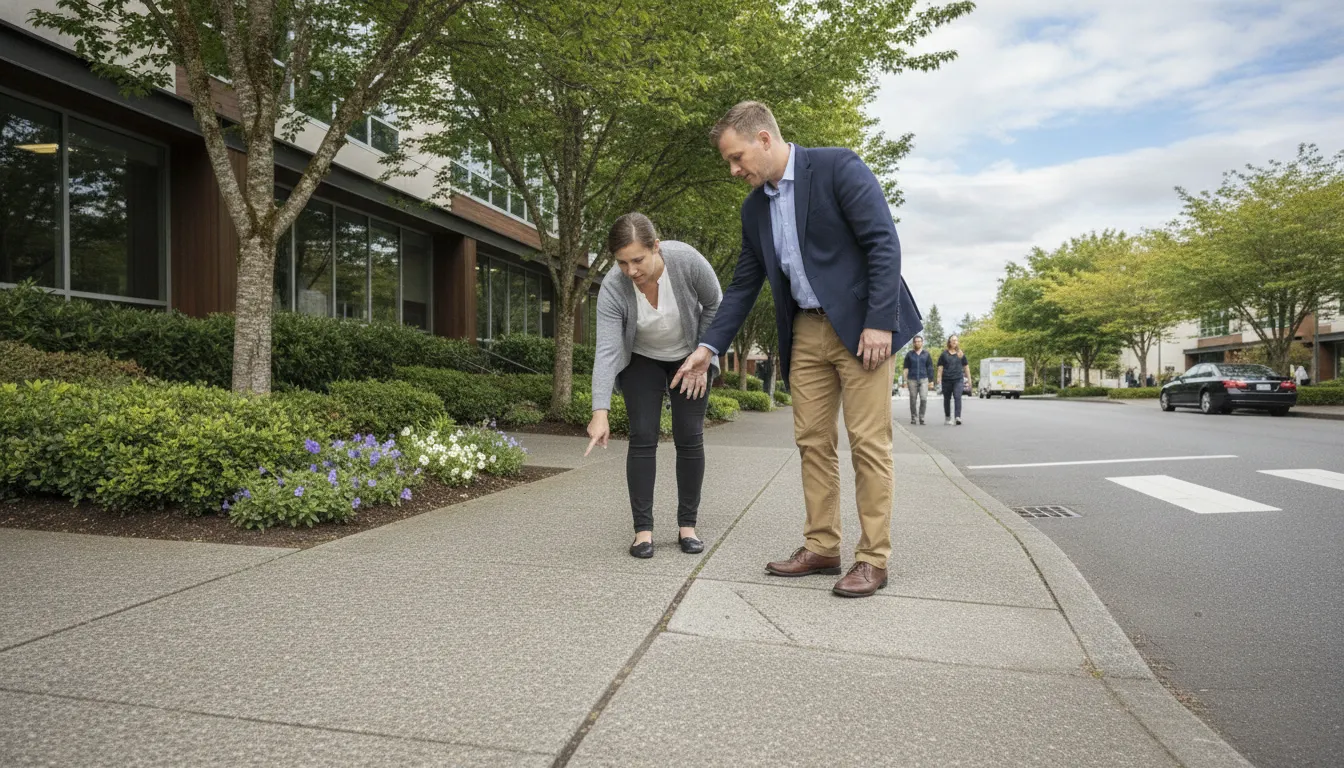
The spot also plays a big part in your risk score. A concrete trip hazard on the way to the main door is a top goal to fix. Main exits and ADA ramps must be clear and safe at all times to follow the law. When you rank your repairs, put these key routes at the top of your list.
Reviewing lighting and past falls
Lighting can make a hazard much harder for people to see. In the dark, a shadow can hide a ledge or a crack, so you should look at your paths at night too. Poor lighting turns a small risk into a major threat for walkers. If a path is dark, you need to fix the concrete or add more lights to stay safe.
Lastly, look at your past records and take action if you have reports of falls. A list of past trips shows that the spot is bad and needs a fix. Using a precision cutting cost analysis is a fast way to remove these risks. This shows that you take site safety with care.
Before you call for a repair crew, use this guide to rank your risks. It helps you see where the danger is the most high on your site. For many site managers, cost-effective concrete repair solutions allow for more fixes at once. This keeps the whole area safer for everyone who walks there.
Risk Factor. | Low Risk. | High Risk. |
Hazard Height. | Under 1/4 inch. | Over 1/2 inch. |
Traffic Level. | Low foot traffic. | High foot traffic. |
User Type. | Active adults. | Seniors or disabled. |
Path Spot. | Remote walkway. | Main entrance. |
Lighting. | Well lit areas. | Poorly lit areas. |
Trip History | No prior incidents. | Past falls reported. |
Prioritizing repairs across a sidewalk network
Managing a large sidewalk network requires a clear plan to find and fix hazards. You cannot fix every small crack at once. Instead, you must focus on the spots that pose the most risk to walkers.
This helps you use your budget well while keeping paths safe for everyone. A steady plan shows you are taking care of your property. It provides a way to make solid choices about where to start. This is not legal advice, but it is a best practice for asset managers.
Setting hazard priority tiers
A good plan starts by grouping hazards into tiers based on their size and spot. Federal rules help define these risks. For instance, the HUD NSPIRE standards label a vertical change of 3/4 inch or more as a safety risk.
However, many experts follow ADA rules that look for any change of 1/4 inch or more. High-traffic areas should be your first concern. You should fix steep edges in these spots first to prevent serious injuries. Consider these factors:
Size of the height change.
How many people walk in the area.
How close the spot is to doors and ramps.
Use by people who need help moving.
You should also think about the people who use your paths. Areas near senior centers or hospitals need extra care. This tier system helps you rank work orders so the most urgent needs get met first. It keeps your team focused on the biggest safety gaps.
Using interim safety controls
Sometimes you cannot fix a hazard right away. In these cases, you should use temporary steps to warn people. This might include using bright safety paint on edges or using temporary patches.
These tools do not fix the problem for good, but they show you know about the risk. This proactive step helps manage risk while you wait for a full repair. It is a vital part of a safe plan.
Noting these steps is a key part of risk management for property owners. Keep a log of when you found the hazard and when you set the warning. This record shows you took reasonable steps to keep the area safe and helps you stay organized.
Data for solid decisions
A data-driven approach helps you justify your repair schedule. You should evaluate each area to see which repair method works best. For many sites, the concrete repair method comparison is the best choice.
It is much faster and cheaper than removing full slabs. This method can fix many spots in a single day without closing the whole path. This keeps your community moving while you make repairs.
Having a clear report of every on your site makes it easy to set a budget. This allows you to find cost-effective ways to cover the most ground. A clear plan makes it easier to get approval for future work.
Explore professional trip hazard removal services that combine assessment, precision cutting, and repair documentation.
Documenting hazards and managing liability
Running a large site means you must keep every person safe. If a fall happens, you need to show you did your job well. Clear records help you do this. You should track every issue from the moment you find it. This makes your work clear to owners and insurance teams. Good data shows that you take safety and meeting rules seriously.
Safe records can help you manage your budget too. When you know where every problem is, you can fix them in order. This keeps your costs low and your safety high. You can show that you are doing your best to keep walkers safe every day. This helps you lower the risk of pricey injury claims on your site.
Measuring every concrete trip hazard
When you find a concrete trip hazard, you must record its exact size. The law says even small lifts are a risk. Federal rules define a hazard as any lift of 1/4 inch or more. You should give a unique ID to each spot you find. This helps your team find the exact place when they come to fix it later.
You should also take clear photos of every hazard. Take one photo before you start the work. This shows the risk as it was. Then, take a photo after the repair is done. These photos show that you took action to fix the danger. It also shows that the new surface is smooth and safe for everyone to use.
Spot IDs for every exact hazard found.
Exact sizes of the upward lift.
Clear photos of the area before and after repairs.
The date you first found the safety issue.
The condition and what is causing the lift.
A risk score based on how many people walk there.
Tracking liability and risk scores
Risk scores help you decide which repairs to do first. A hazard on a main path is more dangerous than one in a low-use area. HUD standards show that small vertical changes are safety defects. If you ignore these spots, you face a higher risk of injury claims. It is better to find them early and fix them fast.
Falls are a big problem for safety. Data from the CDC shows that falls cause many serious head and bone injuries. If a fall happens on your site, you may have to pay high costs. Payouts for these cases can be very large. Keeping a risk score for every hazard shows that you focus on safety where it matters most for your guests.
You should look at your walking paths often. Regular checks help you find new issues before they get worse. Tracking these checks shows that you are a pro. It proves you have a plan to keep the site safe. This type of active care can help you get better rates from your insurance company over time.
Keeping accurate work records
Your work records should be full and clear. They need to list the date of the repair and the actions you took. Use the precision cutting approach to fix these issues. This method is fast and clean. It makes a smooth slope that meets all safety rules. Each repair only takes about 20 minutes to finish the right way.
After the work is done, you should check the area again. This final check confirms that the hazard is gone. Your records should show the date of this check. It should also name the person who verified the work. This final step completes your safety record for that spot. It documents that the repaired area has been inspected for safer use.
A good record system helps you plan for the future. You can see which parts of your site have the most issues. This data helps you spend your repair money in the right spots. It also helps you talk to your board or owners about safety. You can show them the work you did and the risks you removed with clear, hard facts.
From assessment to a safer sidewalk program
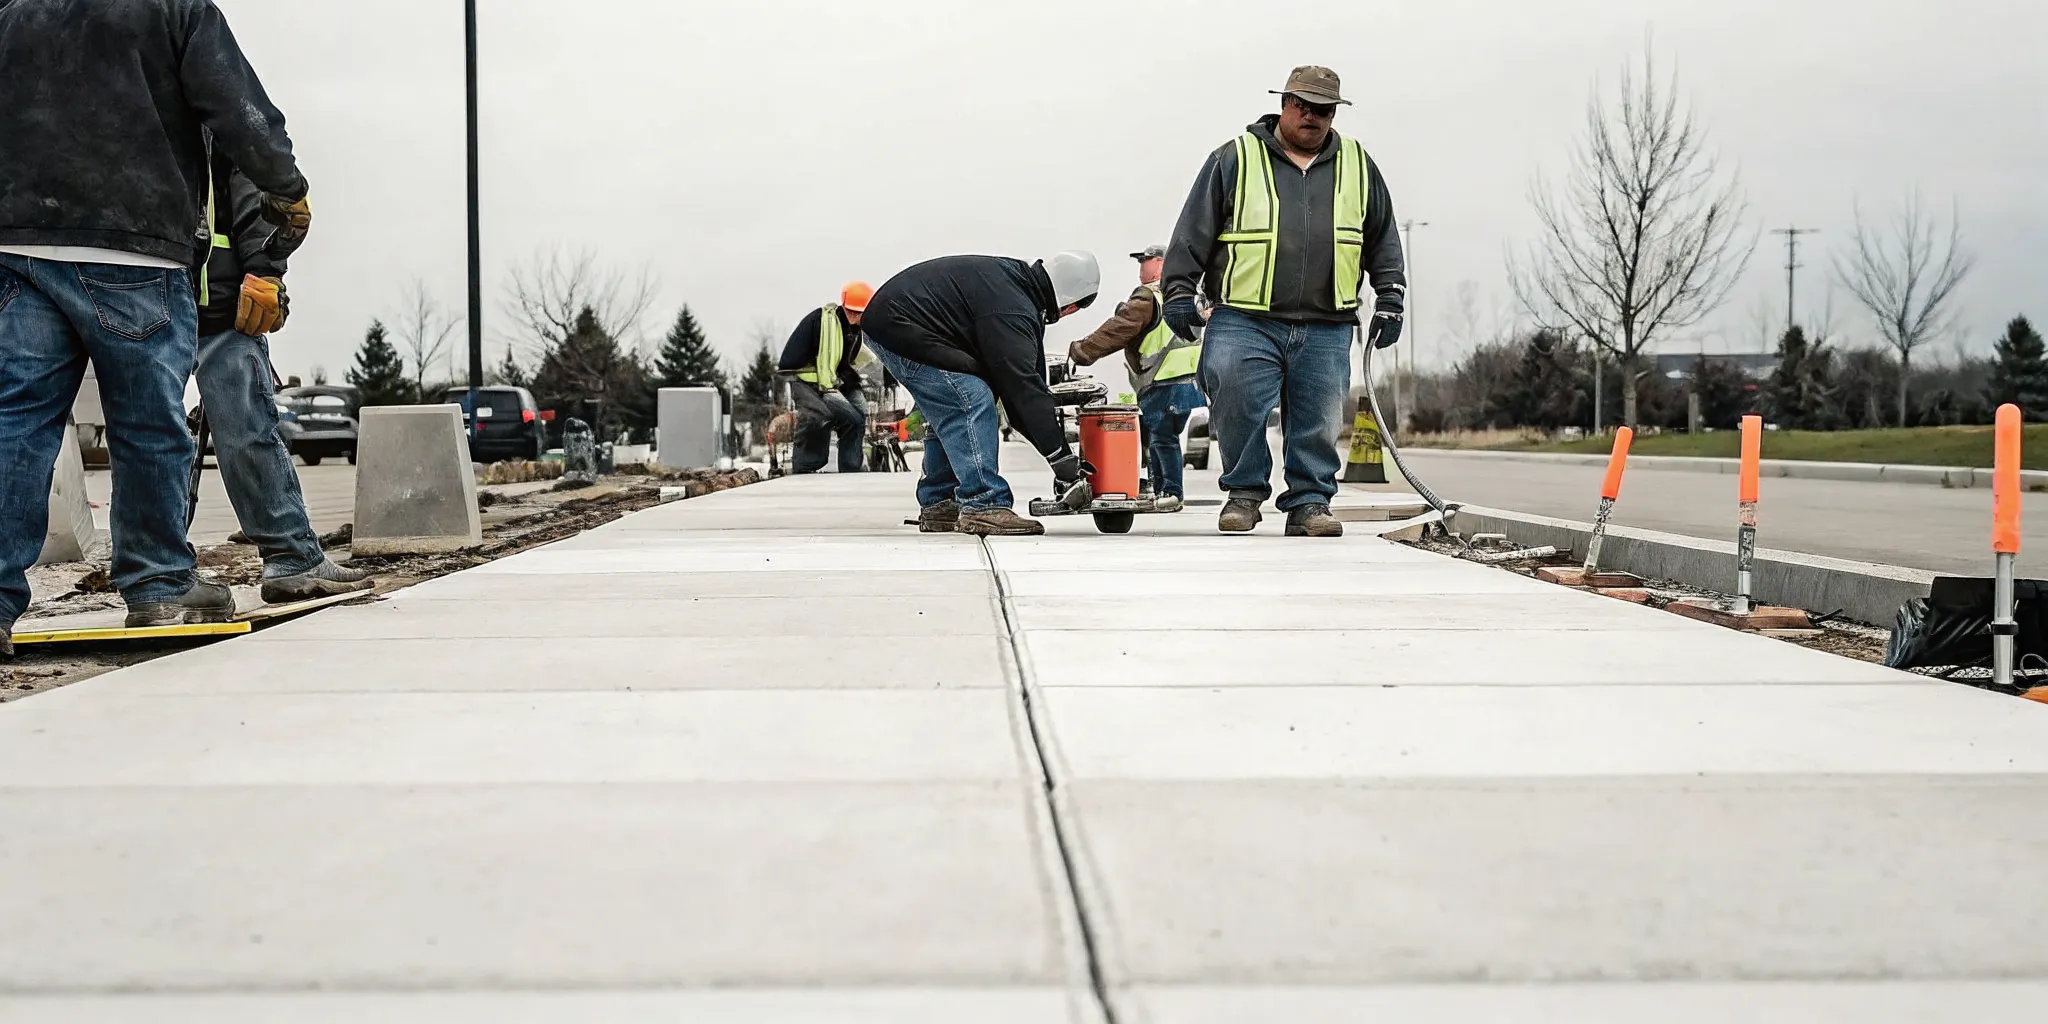
Precision cutting removes uneven concrete while preserving the existing sidewalk slab.
Finding every concrete trip hazard on your lot is the first big step. But once you have that list, you need a plan to fix them. A good program turns raw data into safe paths for everyone. It helps you see where the risks are highest. This makes it easier to spend your budget in the right places.
Pick the best fix
You should look at each hazard on its own. Not every crack needs the same fix. Some small gaps may just need a patch. But larger lips need a more permanent fix. Choosing the right path saves money and time. It also ensures you meet safety standards set by federal rules.
Federal rules often guide these choices. For example, the ADA says any vertical rise over one-fourth of an inch is a risk. You must check each spot to see which method works best. Some spots might need a full swap of the slab. Others are better off with a clean cut. A mix of tools is often the best way to handle a large site.
Use precision cutting
For most lips, the precision concrete cutting process is the top choice. It is faster than digging up old slabs. It is also much cleaner. This method uses a saw to cut the lip down to a flat slope. It creates a smooth path without the mess of heavy machines. Most of all, it keeps your sidewalks open for use while the work happens.
This cutting method reaches all the way to the edge of the walk. It does not leave gaps near walls or curbs. This is key for full safety. It also gives you a slope that is easy for wheels to roll over. Because it costs less than new concrete, you can fix more hazards with the same funds. This helps you cover more ground in less time.
Data for better budgets
Using data from a full site check helps you plan for the future. When you have facts on every slab, you can see trends. You can spot areas that are sinking or shifting. This lets you set a budget based on real needs, not just guesses. New tools can help you track these changes over time. Using data on each slab makes your plan even more exact.
Good data care is part of a smart asset plan. It helps you prove that you are keeping your walkways safe. This proof is helpful for board meetings or insurance checks. It shows that you have a plan to handle risks before they cause a fall. You can use this info to track repairs from start to finish. It turns a one-time fix into a long-term safety plan.
Verification and long-term care
A safer program does not end when the cutting stops. You should check the work to make sure it meets the goal. Proof of work is a key part of the process. It proves that every hazard is gone. Also, you should keep up with new fixes as new risks pop up. Regular checks keep the site safe year after year. This care helps you keep your paths open for all.
Frequently Asked Questions
What is considered a trip hazard in concrete?
According to the Americans with Disabilities Act, a trip hazard is any vertical change in a surface over one quarter inch. Some rules like HUD define it as a change of three quarters of an inch or more. For property managers, look for any spot where one slab sits higher than the one next to it. These small gaps cause falls and hurt people walking on your paths. You should fix these spots fast to keep all visitors safe.
Are property owners liable for sidewalk trip hazards?
Yes. Many local laws say the person who owns the land must keep the sidewalk next to it safe. For example, Portland City Code says owners are at fault for sidewalk care. If a guest trips and gets hurt on a rough path, the owner may face a lawsuit. Managers should check their local codes to see their duties. Keeping paths clear and level helps you avoid high legal costs. It also keeps the people who live there safe.
How to prioritize sidewalk trip hazard repairs?
Property managers should fix hazards based on risk and use. Paths with lots of foot traffic need care first. According to HUD rules, you should find these issues through daily checks. Give the top spot to gaps that are deep or wide. You can also use new tools that help track each hazard on your land. Fixing the worst spots first reduces the chance of a fall. It also shows that you care about the safety of your guests.
How long does it take to fix a concrete trip hazard?
Fixing a hazard with precision concrete cutting is a very fast process. Each four foot section of a sidewalk only takes about fifteen to twenty minutes to finish. Experts can often fix up to twenty hazards in a single day. This method is much faster than replacing the whole slab of concrete. It also costs less and does not leave a mess. This quick work helps managers keep their paths open. It keeps their tenants safe without long delays.
Explore professional trip hazard removal services and turn your documented priorities into a practical repair plan.
Ready to request a sidewalk assessment?
Ignoring sidewalk trip hazards leads to high legal costs and safety risks for your property. Each day you wait increases the chance of a slip and fall that could cost you thousands in legal fees. You can avoid these problems by acting now to manage your sidewalks and protect your firm. Our precision concrete cutting method removes hazards efficiently and helps your team maintain safer, more accessible paths. Starting now allows you to fix small issues before they become major budget drains. When you act today, you stop safety risks from growing and ensure your walks meet all federal rules. You can request a sidewalk assessment on our booking page to get a clear report on your sidewalk health. This report gives you a plan to keep your paths safe for all users and keeps you in charge of your assets.
Ready to request a sidewalk assessment? Call 1-877-224-0025 to discuss your sidewalk network.



Comments